
Crafting Creations: Video Editing Paths is a comprehensive guide tailored for individuals navigating the intricate world of video editing. Whether you’re a novice or an aspiring editor, this resource equips you with essential skills, covering everything from selecting the right software to mastering advanced techniques. It serves as a roadmap for unleashing creativity and crafting visually compelling narratives in the realm of digital content creation.
Creating a Timeline
In video editing, a timeline is a tool that allows you to see all of your clips in chronological order and map out all the edits you’d like to make. This allows you to add transitions, adjust audio clips, and apply effects that carry one scene into the next.

The word “create” is commonly used to describe digital creations, but it can also be applied to physical objects that have been handmade. To avoid confusion, it’s best to use “create” for digital creations and reserve “craft” for handmade items.
A video editor’s timeline is organized into layers, called tracks. Media on the top layer overlays media on the tracks below it. If you need to change the track order, drag a new track to its desired location. You can also detach the timeline and move it to another monitor for precise editing. Some editors let you name each track so that they’re easy to identify.
Creating a Project
The first step in video editing is creating a project. A project is a folder on your computer where all the footage for your video will reside. All the videos, images, and audio you import into your editing software will be housed in this folder. This makes it easy for you to access all of your media without having to hunt around your computer.

Once you’ve created a project, it’s time to select the media that will be included in your video. Whether you’re using your footage or stock clips, make sure to select all the files that you want to include in your video.
Lastly, it’s important to create a script for your video. This is the blueprint for what your video will look like, and it will help the editor understand how to best convey your message. A well-written script is critical for engaging your audience and delivering your message in a way that’s compelling and memorable.
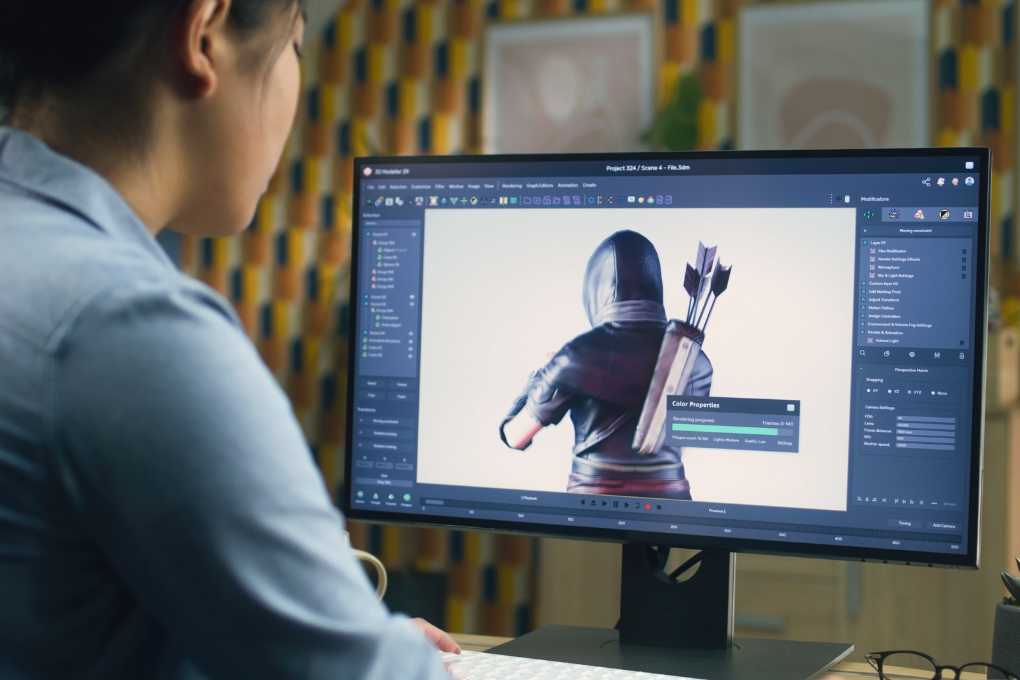
Creating a Clip
Creating clips, splitting, and trimming your video footage helps you hone the content to make it the best it can be for your audience. This is especially true for short videos like TikTok or Reels, but even some creators who create longer content use clipping as part of their editing process.
When you add a clip to the timeline, you can change its duration by dragging it on the timeline or in the preview clip. You can also rename the clip and choose Clip > Split Clip to divide the clip into two separate clips. The new clips will be inserted between the original clips in the sequence, and iMovie automatically inserts a None transition (also called a cut) between the clips. You can replace this transition with a different one, such as a cross-dissolve.
You can also work with sub-clips the same way you do with master clips. However, you cannot set new In and Out points for a subclip that lies outside the original In and Out points of the master clip, because the subclip is constrained by the master clip to start and end times.
Creating a Storyboard
Whether you’re the one doing the editing or have to hand it over to someone else, a storyboard will make life much easier for everyone involved. A storyboard is a series of images representing each frame in your video, and while you may need to get out the pencil and paper for traditional ones, there are also many free templates online that you can use (including this one from Boards). Underneath each image, write down a description to help you and anyone you’re working with understand what’s happening.

Sketch out each scene in comic book style and make sure to include important details such as setting, characters present, props, text, camera angles and movements, and transitions between scenes. If you’re working with other people, share your storyboard drafts early and ask for feedback – this is a great way to improve your final product! With a tool like Boards, it’s easy to collaborate on your storyboards with features that allow for real-time updates and feedback.
The article “How to Reduce the Cost of Starting a Business” provides invaluable insights for entrepreneurs aiming to launch a venture on a budget. It offers practical tips, cost-cutting strategies, and resourceful ideas, guiding readers to make informed decisions that minimize initial expenses, ultimately facilitating a more economical startup journey.